How to Clean and Seal a Wooden Deck
| Filed | Takes |
|---|---|
| 5 min read |
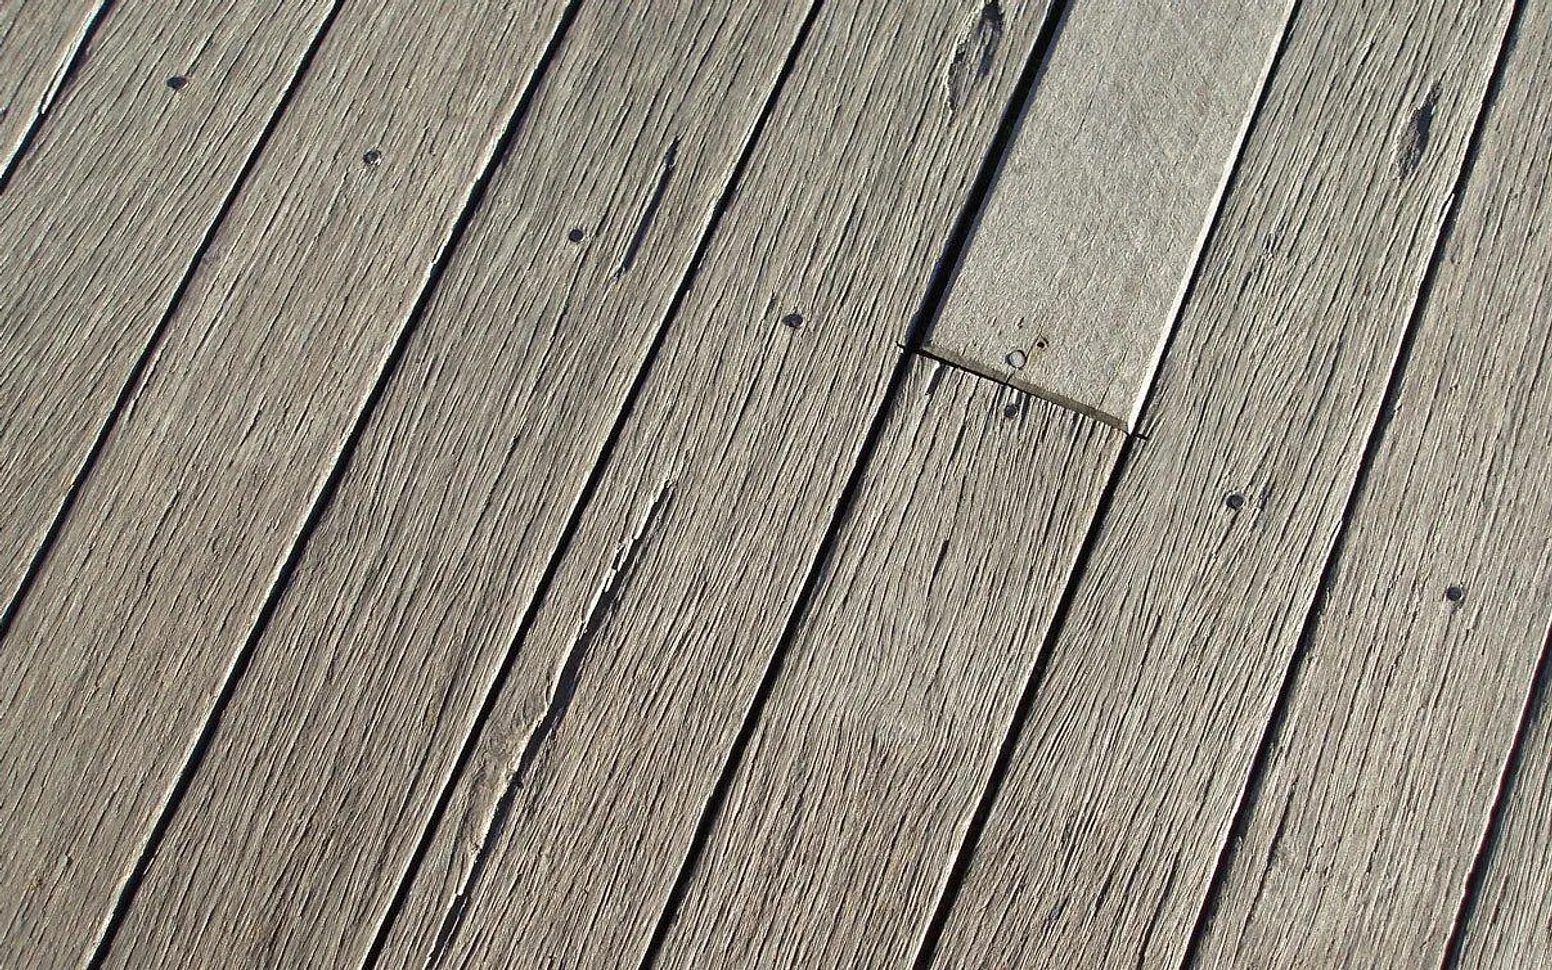
The boards have turned silver-grey, a few splinters catch on bare feet, and after a shower the wood darkens in patches instead of shedding the water. That is a timber deck asking for a clean and a fresh coat of sealer. The job is not complicated, but the order matters: most disappointing results come from sealing over dirt or damp wood, not from picking the wrong product.
Start with the water test
Before buying anything, sprinkle a cupful of water across a few boards in different spots, including one in full sun and one near the house wall. Watch for a minute.
- Water beads and sits on top: the existing finish is still working. A wash is enough for now.
- Water soaks in slowly: protection is fading. Plan to clean and seal this season.
- Water disappears almost at once: the wood is thirsty and exposed. Seal soon, before the boards start to check and cup.
Doing the test in several places is worth the extra minute. Sunny, high-traffic areas such as the path from the back door usually wear out first, while shaded corners may still be holding up.
What you will need
A basic kit covers most decks. Pick products made for exterior timber and read each label, because drying times and coverage vary from brand to brand.
- Stiff broom and a putty knife for the gaps between boards
- Deck cleaner suited to the wood and the type of stain you are dealing with
- Stiff synthetic scrubbing brush on a pole
- Garden hose with a spray nozzle (a pressure washer is optional and needs care)
- Sandpaper or a pole sander for raised fibres
- Sealer, plus a brush, a pad applicator or a short-nap roller
- Work gloves, safety glasses and clothes you do not mind ruining
Step by step
- Clear and sweep. Move furniture, planters and the grill. Sweep, then scrape debris out of the gaps so water can drain and air can move under the boards.
- Protect the surroundings. Wet nearby plants and cover them with a sheet. Tape over door thresholds and any painted trim next to the deck.
- Check the structure. Look for soft spots, raised nail heads and loose railings. Drive popped fasteners back in or swap them for deck screws, and replace any board that flexes or crumbles.
- Apply the cleaner. Work in sections, following the label for dilution and dwell time, and keep the surface wet while it works. Scrub along the grain.
- Rinse thoroughly. Flush each section with the hose. If you use a pressure washer, keep a wide fan tip, a low setting and the nozzle moving with the grain; too much pressure gouges soft timber and leaves furry patches.
- Let it dry completely. This is the step people rush. Depending on sun and humidity, the wood may need two days or more. Sprinkle water again: if it soaks in readily, the boards are dry enough to accept sealer.
- Sand the rough bits. Washing often lifts fibres. A light pass with medium-grit paper smooths them so the sealer goes on evenly and feet stay splinter-free.
- Seal two or three boards at a time. Stir the product well, start at the far side and work towards your exit, coating the full length of a few boards before moving on. This keeps a wet edge and avoids lap marks.
- Back-brush and wipe puddles. If you roll or spray, follow with a brush to push sealer into the grain. Thin coats beat thick ones; excess that stays on top turns sticky or peels.
- Wait before using it. Keep people and pets off until the label says it is safe, and give it longer before putting heavy furniture back.
Choosing a finish
"Sealer" covers several types of product, and the labels do not always use the same words. A rough guide:
| Finish | Look | What to expect |
|---|---|---|
| Clear water repellent | Natural colour, slowly greys | Little protection from sun; usually recoated often |
| Toned or semi-transparent | Grain visible with a tint | Pigment helps against fading; a common middle ground |
| Semi-solid or solid stain | Mostly opaque, like paint | Hides worn wood; can peel and needs more prep to redo |
Oil-based products tend to soak in and fade gradually, while many water-based ones dry faster and clean up with water. Whatever you choose, switching between very different types may require stripping the old finish first, so check compatibility on the tin.
Timing the job
Weather decides more than the calendar. Look for a stretch of dry days with mild temperatures, no rain forecast for at least a day after sealing, and boards that are not baking in direct midday sun. Early autumn and late spring are often comfortable. Sealing late in the day can leave dew settling on a coat that has not cured, so finish in the morning or early afternoon.
How often to repeat it depends on sun exposure, foot traffic and the product. Rather than following a fixed interval, repeat the water test each spring and act when water stops beading.
Small habits between coats
- Sweep leaves before they mat down and hold moisture.
- Lift planters on feet so the boards underneath can dry.
- Use a grill mat to catch grease and embers.
- Keep gutters and downpipes clear so they do not empty onto the deck.
Some problems are beyond a wash and a coat: posts that wobble, joists that feel spongy, or boards rotting at the ends. Those point to structural repairs, and a look at how a deck is planned and built from the footings up shows what a professional checks. The same weather that wears a deck also works on nearby timber, so it can make sense to inspect the boundary at the same time; the stages of getting a new fence quoted and installed are worth knowing if yours is past saving. And if the house walls behind the deck look tired once the boards are fresh, the case for repainting the exterior of a home follows the same logic of protecting surfaces before they fail.
Done carefully, the cleaning and sealing take a long weekend plus drying time, and the reward is a deck that feels smooth underfoot and sheds the next downpour.
What is new in each topic
Tell us what you think.
Suggestions help us plan.